
As the crisp autumn air sets in, the allure of warm, comforting desserts becomes irresistible. You’re likely no stranger to the charm of fall treats that fill your home with the scent of cinnamon and sweetness. Baked apple desserts are a staple of the season, and among them, baked apple fritters stand out as a particularly delightful indulgence.
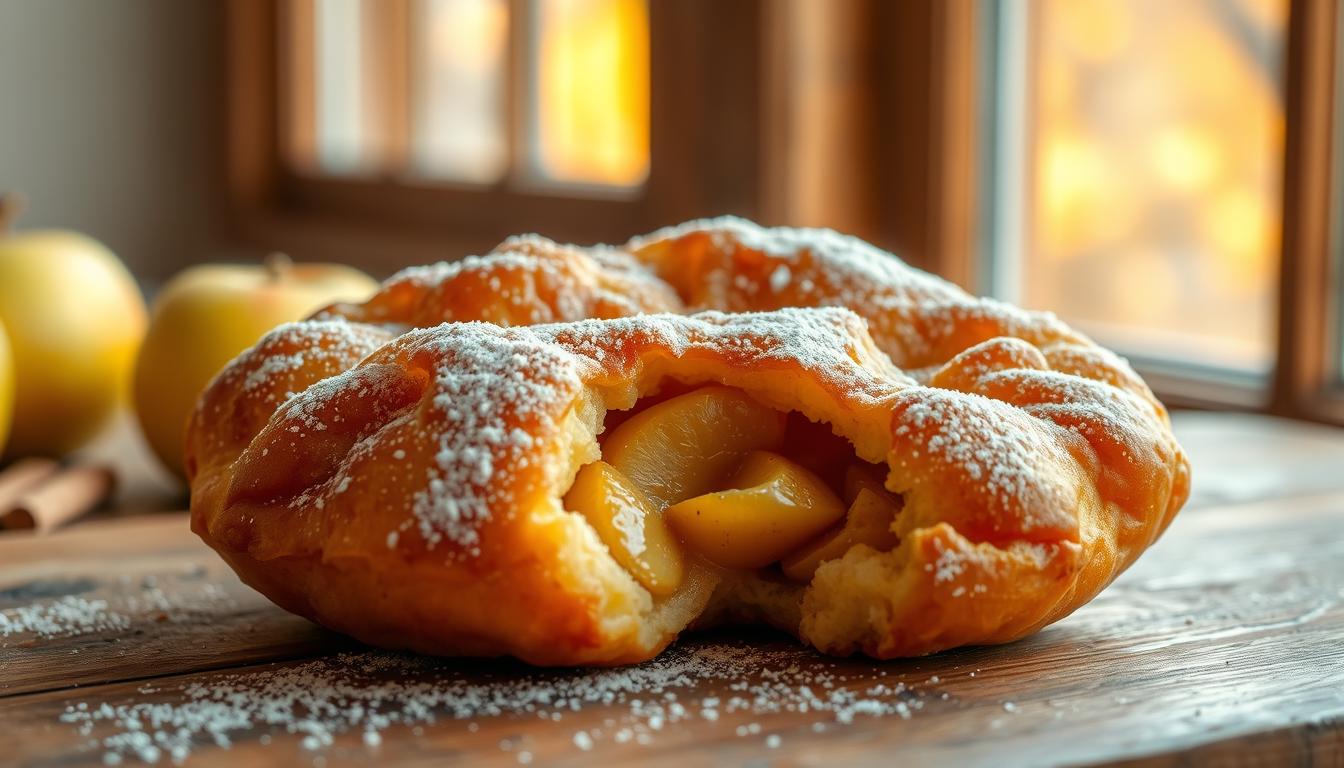
Imagine sinking your teeth into a crispy, golden fritter, only to be greeted by the tender, flavorful flesh of apples within. It’s a taste of fall in every bite. This article will guide you through the process of making these irresistible fall desserts at home, sharing a simple yet delicious apple fritter recipe that’s sure to become a new seasonal favorite.
Key Takeaways
- Learn how to make a delicious apple fritter recipe perfect for fall.
- Discover the secret to achieving crispy, golden fritters.
- Understand the importance of using the right apples for the best flavor.
- Get tips on how to serve and enjoy your baked apple fritters.
- Explore variations of the recipe to suit your taste preferences.
The Magic of Baked Apple Fritters
There’s something magical about biting into a warm, baked apple fritter on a crisp autumn day. As you savor the combination of tender apples, sweet cinnamon, and a hint of nutmeg, you’ll understand why these treats are a seasonal favorite. Making homemade apple fritters is easier than you think, and baking them offers a healthier alternative to traditional frying.

What Makes Apple Fritters a Fall Favorite
Apple fritters are closely associated with fall due to the availability of fresh apples during this season. The sweetness of the apples pairs perfectly with the warm spices like cinnamon and nutmeg, creating a flavor profile that’s quintessentially autumnal. When you make easy apple fritters at home, you can adjust the spices to your liking, making them even more enjoyable.
Health Benefits of Baking vs. Frying
Baking your apple fritters instead of frying them significantly reduces the calorie and fat content, making them a relatively healthier dessert option. By choosing to bake, you’re not only cutting down on unnecessary fats but also preserving the nutritional value of the apples and other ingredients. This health benefits of baking approach allows you to indulge in these delicious treats with a clearer conscience.
Essential Ingredients for Perfect Baked Apple Fritters
Crafting the perfect baked apple fritter begins with understanding the essential ingredients. To achieve the ideal balance of flavor and texture, you’ll need to carefully select the right apples and combine them with the appropriate dry and wet ingredients. Let’s dive into the specifics of what you’ll need.
Apple Selection Guide
Choosing the right apples is crucial for your baked apple fritters. You’ll want apples that are sweet, tart, and hold their shape during baking. Gala, Granny Smith, or Honeycrisp apples are excellent choices due to their flavor profiles and textures. Aim for a mix of sweet and tart apples to achieve a balanced flavor.
Dry Ingredients Breakdown
The dry ingredients provide structure and flavor to your fritters. You’ll need:
- All-purpose flour as the base
- Granulated sugar to balance the tartness
- Baking powder to help the fritters rise
- Cinnamon and nutmeg for warm, spicy flavors
- Salt to enhance the overall flavor
These dry ingredients work together to create a delicious and aromatic fritter.
Wet Ingredients You’ll Need
The wet ingredients bring moisture and richness to your baked apple fritters. You’ll need:
- Eggs to bind the mixture
- Milk or buttermilk for moisture
- Vanilla extract for added flavor
- Melted butter to enrich the batter
Combining these wet ingredients with your dry ingredients and apples will result in a delicious batter.

Kitchen Tools and Equipment
To make delicious baked apple fritters, you’ll need the right kitchen tools and equipment. Having the proper tools not only makes the baking process smoother but also ensures that your fritters turn out perfectly.
Essential Baking Tools
The following tools are must-haves for baking apple fritters:
- Mixing bowls: For combining wet and dry ingredients separately.
- Measuring cups and spoons: To ensure accuracy in your measurements.
- Whisk: For mixing batter thoroughly.
- Baking sheet: Lined with parchment paper, it’s essential for baking fritters.
Optional Equipment for Convenience
While not necessary, the following equipment can make the process more convenient:
- Cookie scoop: Helps in forming uniform fritters.
- Stand mixer: Useful for mixing batter, especially if you’re making a large batch.
By having these tools and equipment ready, you’ll be well-prepared to bake delicious apple fritters.
Step-by-Step Baked Apple Fritters Recipe
Now that we have our ingredients and tools ready, let’s dive into the step-by-step process of making delicious baked apple fritters. This recipe is designed to be straightforward and easy to follow, ensuring that you can create perfect fritters every time.
Step1: Preparing Your Apples
The first step in making baked apple fritters is preparing your apples. This involves choosing the right cutting technique and pre-treating the apples to prevent browning.
Choosing the Right Cutting Technique
To ensure your apple fritters bake evenly, it’s crucial to cut your apples into uniform pieces. Cutting the apples into 1/2-inch thick slices is recommended.
Pre-treating Apples to Prevent Browning
Toss the apple slices with a mixture of lemon juice and cinnamon to prevent browning and add flavor.
Step2: Mixing the Batter
Mixing the batter is a critical step that requires attention to detail. You’ll need to mix the dry ingredients separately from the wet ingredients before combining them.
Dry Ingredient Mixing Method
In a bowl, whisk together flour, sugar, and baking powder. This ensures that your fritters will have a consistent texture.
Incorporating Wet Ingredients Properly
In a separate bowl, mix eggs, milk, and melted butter. Gradually add the wet ingredients to the dry ingredients, stirring until just combined.
Step3: Forming and Shaping Techniques
Once your batter is ready, it’s time to form your fritters. The size and shape can affect how evenly they bake.
Size and Shape Recommendations
Use a 1/4 cup measuring cup to portion out the batter. Shape each fritter into a ball and then flatten it slightly.
Ensuring Even Baking
Make sure the fritters are evenly spaced on the baking sheet to allow for proper air circulation.
Step4: Baking Time and Temperature Guide
Baking your fritters at the right temperature for the correct amount of time is crucial. Preheat your oven to 375°F (190°C).
Visual Cues for Doneness
Fritters are done when they’re golden brown. This should take about 15-20 minutes.
Cooling Process
After baking, let the fritters cool on a wire rack for a few minutes before glazing.
| Step | Description | Tips |
|---|---|---|
| 1 | Prepare Apples | Cut into uniform pieces |
| 2 | Mix Batter | Combine wet and dry ingredients separately |
| 3 | Form Fritters | Use a 1/4 cup measuring cup |
| 4 | Bake Fritters | Bake at 375°F for 15-20 minutes |
Creating the Perfect Apple Fritter Glaze
To take your baked apple fritters to the next level, consider adding a glaze that’s both flavorful and visually appealing. A well-crafted glaze can enhance the overall taste and presentation of your dessert.
Classic Vanilla Glaze Recipe
A classic vanilla glaze is a timeless choice for apple fritters. To make it, you’ll need powdered sugar, vanilla extract, and milk. Mix 1 cup of powdered sugar with 2 tablespoons of milk and 1/2 teaspoon of vanilla extract until smooth. Adjust the consistency by adding more milk or powdered sugar as needed. This glaze is not only easy to make but also pairs perfectly with the warm spices in your apple fritters.
Flavor Variations for Your Glaze
While a classic vanilla glaze is delicious, you can also experiment with different flavors to find your favorite. Consider adding a maple syrup glaze for a rich, autumnal taste or a lemon glaze for a brighter, citrusy note. You can also try incorporating different extracts, such as almond or coconut, to create unique flavor profiles. The key is to have fun and experiment with various combinations to find the perfect glaze for your apple fritters.
Troubleshooting Common Baked Apple Fritter Problems
The perfect baked apple fritter is achievable, but it requires troubleshooting some common pitfalls. When making these delicious treats, you might encounter issues such as dry fritters, undercooked centers, or burnt edges. Understanding how to address these problems will help you achieve the best results.
Why Your Fritters Might Be Dry
Dry fritters can be disappointing. This issue often arises from overmixing the batter or overbaking. To avoid dryness, mix your ingredients just until they come together, and keep a close eye on your fritters while they’re baking. Using the right type of apples, such as Granny Smith, can also help retain moisture.
Fixing Undercooked Centers
Undercooked centers can be a problem if your fritters are not baked long enough or if your oven temperature is off. To fix this, ensure your oven is at the correct temperature using an oven thermometer. If you find your fritters are undercooked, return them to the oven for a few more minutes until they’re done.
Preventing Burnt Edges
Burnt edges can occur if your fritters are too close together on the baking sheet or if your oven is running too hot. To prevent this, make sure to space your fritters out evenly and consider using parchment paper to prevent sticking. Keeping an eye on your fritters during the baking time can also help you catch any potential burning early.
Serving and Storing Your Apple Fritters
You’ve mastered the art of baking apple fritters; now let’s explore how to serve and store them. Serving baked apple fritters can elevate your breakfast or dessert game, while proper storage ensures they remain fresh for as long as possible.
Best Ways to Serve Baked Apple Fritters
When it comes to serving apple fritters, the options are endless. You can dust them with powdered sugar for a simple yet elegant look, or drizzle with a glaze for added sweetness. Consider serving them warm with a scoop of vanilla ice cream for a delightful dessert.
Proper Storage Methods
For storing apple fritters, it’s crucial to keep them in an airtight container to maintain freshness. You can store them at room temperature for up to two days or refrigerate them for longer storage. If you choose to refrigerate, make sure to let them come to room temperature before serving for the best flavor and texture.
Reheating Tips for Maximum Freshness
If you need to reheat your apple fritters, do so in the oven to maintain their crispy exterior. Simply place them on a baking sheet and warm them in a preheated oven at 350°F (175°C) for a few minutes. This method helps in preserving the texture while warming them up, making it perfect for reheating apple fritters.
| Storage Method | Duration | Reheating Tip |
|---|---|---|
| Room Temperature | Up to 2 days | Oven reheating |
| Refrigerated | Up to 5 days | Oven reheating |
| Freezer | Up to 2 months | Oven or microwave reheating |
Conclusion: Enjoying Your Homemade Baked Apple Fritters
Now that you’ve mastered the art of making homemade apple fritters, it’s time to indulge in the fruits of your labor. Enjoying baked apple fritters is a delight, especially when they’re fresh from your oven. Savor the sweet, tender apples and the crispy, golden exterior that makes these treats the best apple fritters you’ve ever tasted.
Experiment with different apple varieties and glazes to create your signature flavor. You can also try adding nuts or spices to the batter for added texture and depth. As you continue to bake and enjoy your homemade apple fritters, you’ll discover new favorite combinations that will make your baking experience even more enjoyable.
Whether you’re serving them at a family gathering or enjoying them as a personal treat, your baked apple fritters are sure to impress. So go ahead, take a bite, and relish the joy of enjoying your very own homemade baked apple fritters.